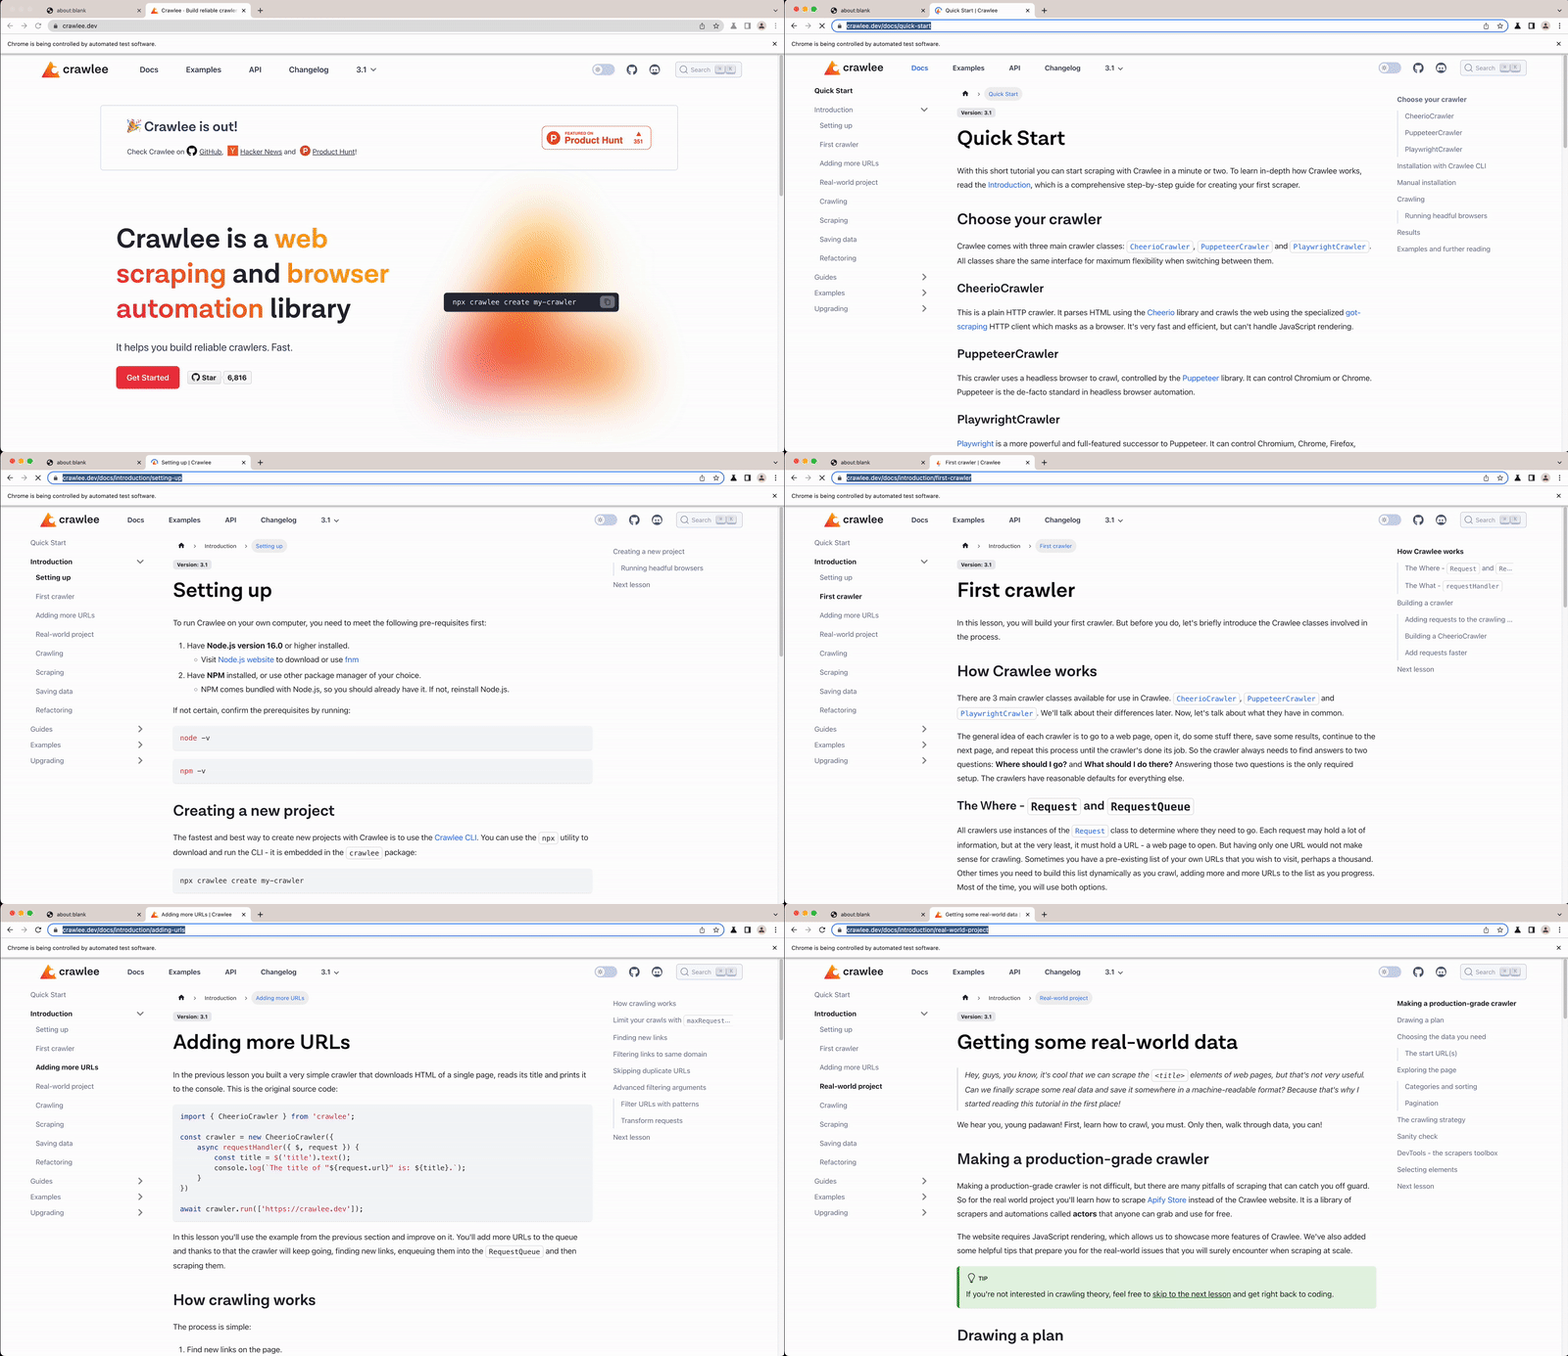
Quick Start
With this short tutorial you can start scraping with Crawlee in a minute or two. To learn in-depth how Crawlee works, read the Introduction, which is a comprehensive step-by-step guide for creating your first scraper.
Choose your crawler
Crawlee comes with three main crawler classes: CheerioCrawler, PuppeteerCrawler and PlaywrightCrawler. All classes share the same interface for maximum flexibility when switching between them.
CheerioCrawler
This is a plain HTTP crawler. It parses HTML using the Cheerio library and crawls the web using the specialized got-scraping HTTP client which masks as a browser. It's very fast and efficient, but can't handle JavaScript rendering.
PuppeteerCrawler
This crawler uses a headless browser to crawl, controlled by the Puppeteer library. It can control Chromium or Chrome. Puppeteer is the de-facto standard in headless browser automation.
PlaywrightCrawler
Playwright is a more powerful and full-featured successor to Puppeteer. It can control Chromium, Chrome, Firefox, Webkit and many other browsers. If you're not familiar with Puppeteer already, and you need a headless browser, go with Playwright.
Crawlee requires Node.js 16 or later.
Installation with Crawlee CLI
The fastest way to try Crawlee out is to use the Crawlee CLI and choose the Getting started example. The CLI will install all the necessary dependencies and add boilerplate code for you to play with.
npx crawlee create my-crawler
After the installation is complete you can start the crawler like this:
cd my-crawler && npm start
Manual installation
You can add Crawlee to any Node.js project by running:
- CheerioCrawler
- PlaywrightCrawler
- PuppeteerCrawler
npm install crawlee
playwright is not bundled with Crawlee to reduce install size and allow greater flexibility. You need to explicitly install it with NPM. 👇
npm install crawlee playwright
puppeteer is not bundled with Crawlee to reduce install size and allow greater flexibility. You need to explicitly install it with NPM. 👇
npm install crawlee puppeteer
Crawling
Run the following example to perform a recursive crawl of the Crawlee website using the selected crawler.
To run the example, add a "type": "module" clause into your package.json or
copy it into a file with an .mjs suffix. This enables import statements in Node.js.
See Node.js docs for
more information.
- CheerioCrawler
- PlaywrightCrawler
- PuppeteerCrawler
import { CheerioCrawler, Dataset } from 'crawlee';

// CheerioCrawler crawls the web using HTTP requests
// and parses HTML using the Cheerio library.
const crawler = new CheerioCrawler({
    // Use the requestHandler to process each of the crawled pages.
    async requestHandler({ request, $, enqueueLinks, log }) {
        const title = $('title').text();
        log.info(`Title of ${request.loadedUrl} is '${title}'`);

        // Save results as JSON to ./storage/datasets/default
        await Dataset.pushData({ title, url: request.loadedUrl });

        // Extract links from the current page
        // and add them to the crawling queue.
        await enqueueLinks();
    },

    // Let's limit our crawls to make our tests shorter and safer.
    maxRequestsPerCrawl: 50,
});

// Add first URL to the queue and start the crawl.
await crawler.run(['https://crawlee.dev']);
import { PlaywrightCrawler, Dataset } from 'crawlee';

// PlaywrightCrawler crawls the web using a headless
// browser controlled by the Playwright library.
const crawler = new PlaywrightCrawler({
    // Use the requestHandler to process each of the crawled pages.
    async requestHandler({ request, page, enqueueLinks, log }) {
        const title = await page.title();
        log.info(`Title of ${request.loadedUrl} is '${title}'`);

        // Save results as JSON to ./storage/datasets/default
        await Dataset.pushData({ title, url: request.loadedUrl });

        // Extract links from the current page
        // and add them to the crawling queue.
        await enqueueLinks();
    },
    // Uncomment this option to see the browser window.
    // headless: false,

    // Let's limit our crawls to make our tests shorter and safer.
    maxRequestsPerCrawl: 50,
});

// Add first URL to the queue and start the crawl.
await crawler.run(['https://crawlee.dev']);
import { PuppeteerCrawler, Dataset } from 'crawlee';

// PuppeteerCrawler crawls the web using a headless
// browser controlled by the Puppeteer library.
const crawler = new PuppeteerCrawler({
    // Use the requestHandler to process each of the crawled pages.
    async requestHandler({ request, page, enqueueLinks, log }) {
        const title = await page.title();
        log.info(`Title of ${request.loadedUrl} is '${title}'`);

        // Save results as JSON to ./storage/datasets/default
        await Dataset.pushData({ title, url: request.loadedUrl });

        // Extract links from the current page
        // and add them to the crawling queue.
        await enqueueLinks();
    },
    // Uncomment this option to see the browser window.
    // headless: false,

    // Let's limit our crawls to make our tests shorter and safer.
    maxRequestsPerCrawl: 50,
});

// Add first URL to the queue and start the crawl.
await crawler.run(['https://crawlee.dev']);
When you run the example, you will see Crawlee automating the data extraction process in your terminal.
INFO  CheerioCrawler: Starting the crawl
INFO  CheerioCrawler: Title of https://crawlee.dev/ is 'Crawlee · Build reliable crawlers. Fast. | Crawlee'
INFO  CheerioCrawler: Title of https://crawlee.dev/js/docs/examples is 'Examples | Crawlee'
INFO  CheerioCrawler: Title of https://crawlee.dev/js/docs/quick-start is 'Quick Start | Crawlee'
INFO  CheerioCrawler: Title of https://crawlee.dev/js/docs/guides is 'Guides | Crawlee'
Running headful browsers
Browsers controlled by Puppeteer and Playwright run headless (without a visible window). You can switch to headful by adding the headless: false option to the crawlers' constructor. This is useful in the development phase when you want to see what's going on in the browser.
- PlaywrightCrawler
- PuppeteerCrawler
import { PlaywrightCrawler, Dataset } from 'crawlee';

const crawler = new PlaywrightCrawler({
    async requestHandler({ request, page, enqueueLinks, log }) {
        const title = await page.title();
        log.info(`Title of ${request.loadedUrl} is '${title}'`);
        await Dataset.pushData({ title, url: request.loadedUrl });
        await enqueueLinks();
    },
    // When you turn off headless mode, the crawler
    // will run with a visible browser window.
    headless: false,

    // Let's limit our crawls to make our tests shorter and safer.
    maxRequestsPerCrawl: 50,
});

// Add first URL to the queue and start the crawl.
await crawler.run(['https://crawlee.dev']);
import { PuppeteerCrawler, Dataset } from 'crawlee';

const crawler = new PuppeteerCrawler({
    async requestHandler({ request, page, enqueueLinks, log }) {
        const title = await page.title();
        log.info(`Title of ${request.loadedUrl} is '${title}'`);
        await Dataset.pushData({ title, url: request.loadedUrl });
        await enqueueLinks();
    },
    // When you turn off headless mode, the crawler
    // will run with a visible browser window.
    headless: false,

    // Let's limit our crawls to make our tests shorter and safer.
    maxRequestsPerCrawl: 50,
});

// Add first URL to the queue and start the crawl.
await crawler.run(['https://crawlee.dev']);
When you run the example code, you'll see an automated browser blaze through the Crawlee website.
For the sake of this show off, we've slowed down the crawler, but rest assured, it's blazing fast in real world usage.


Results
Crawlee stores data to the ./storage directory in your current working directory. The results of your crawl will be available under ./storage/datasets/default/*.json as JSON files.
{
    "url": "https://crawlee.dev/",
    "title": "Crawlee · The scalable web crawling, scraping and automation library for JavaScript/Node.js | Crawlee"
}
You can override the storage directory by setting the CRAWLEE_STORAGE_DIR environment variable.
Examples and further reading
You can find more examples showcasing various features of Crawlee in the Examples section of the documentation. To better understand Crawlee and its components you should read the Introduction step-by-step guide.
Related links